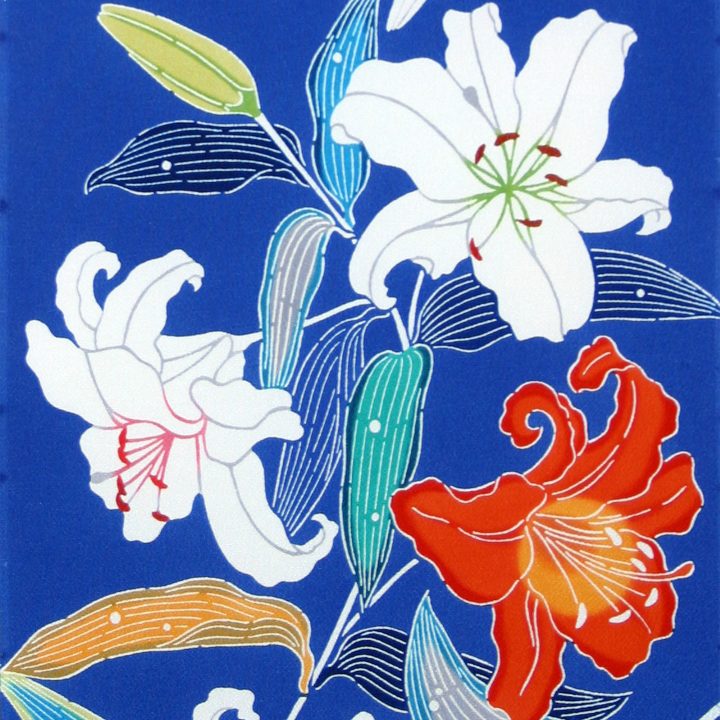
和染紅型
Wazome
bingata
bingata
型彫りした染型を⽤いて
防染糊を置き、
⼿彩⾊を⾏う技法
防染糊を置き、
⼿彩⾊を⾏う技法
解説
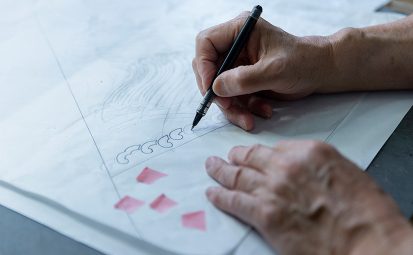
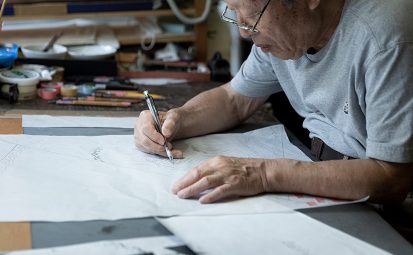
創作した図案をもとに型彫りした染型を⽤いて防染糊を置き、⼿彩⾊を⾏う技法です。
京友禅の⼿描染と⽐べしっかりとした⽷⽬や⾯で防染糊を置く「堰出し」、染料の滲みを押さえる「地⼊れ」により生まれる生地そのものの「⽩」が配⾊のポイントとなっています。また、凹凸のあるザックリとした帯地や透け感のある生地の染⾊にもそれらの技術が活かされています。

手順
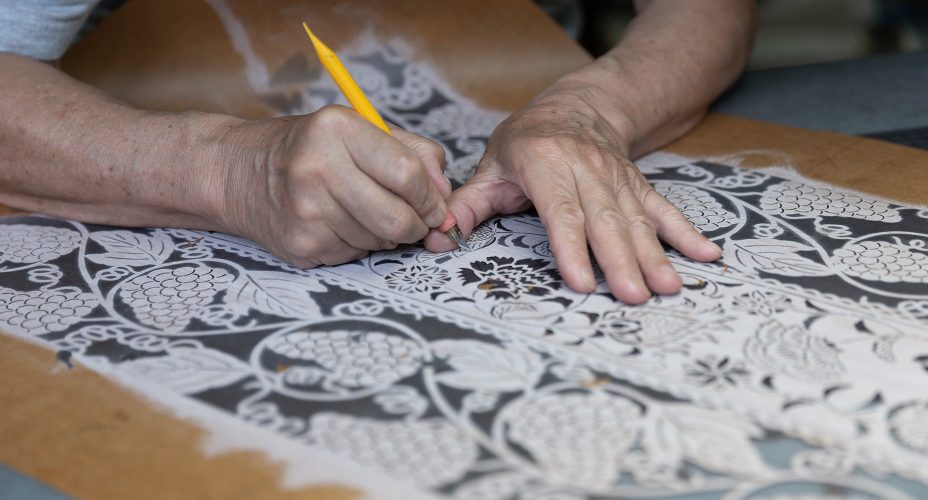
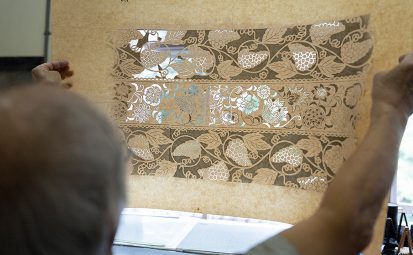
1. 型彫り かたほり
全て1枚ずつの⼿彫りで、彫り⼝のタッチが模様に勢いを与えます。
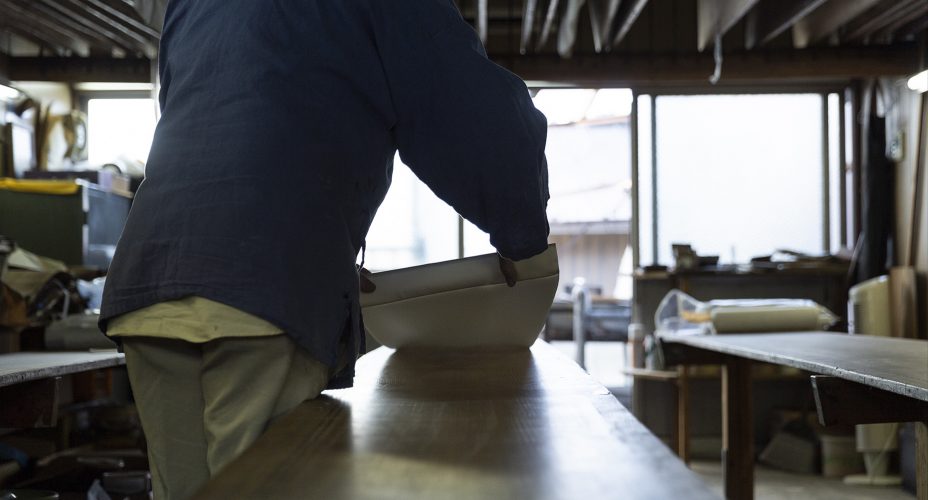
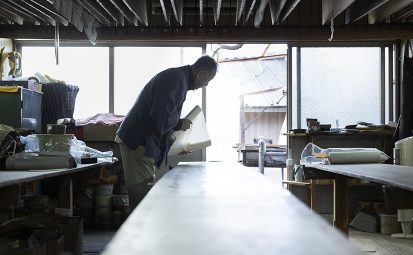
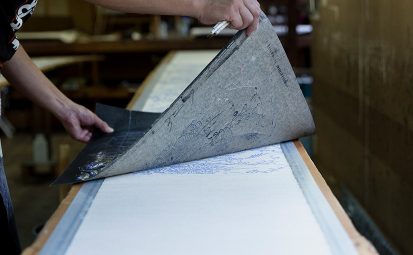
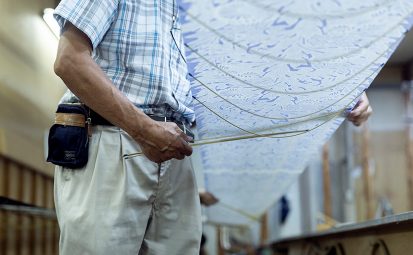
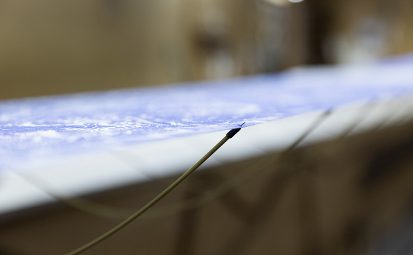
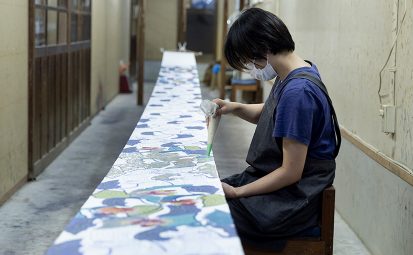
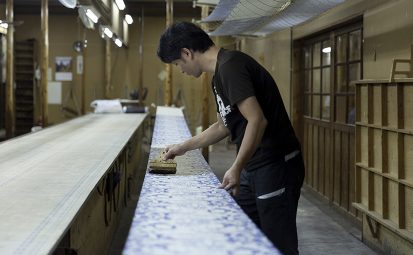
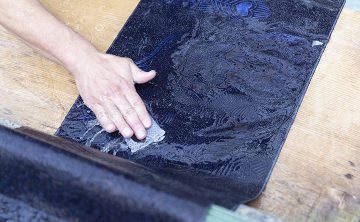
2. 地張り じばり
縦横共に歪まず密着するよう注意して生地を板に張ります。
正確に張らないと柄がずれたり仕⽴てた際の柄の歪みに通じます。板には伝統的な「せば板」や「固定台」「回転台」がありますが、生地を張る作業はいずれも同じです。
こちらは「せば板」です。
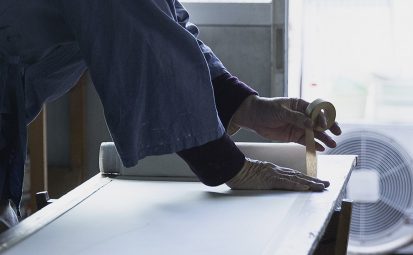
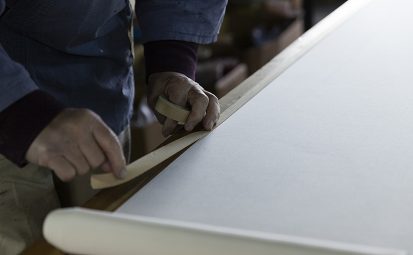
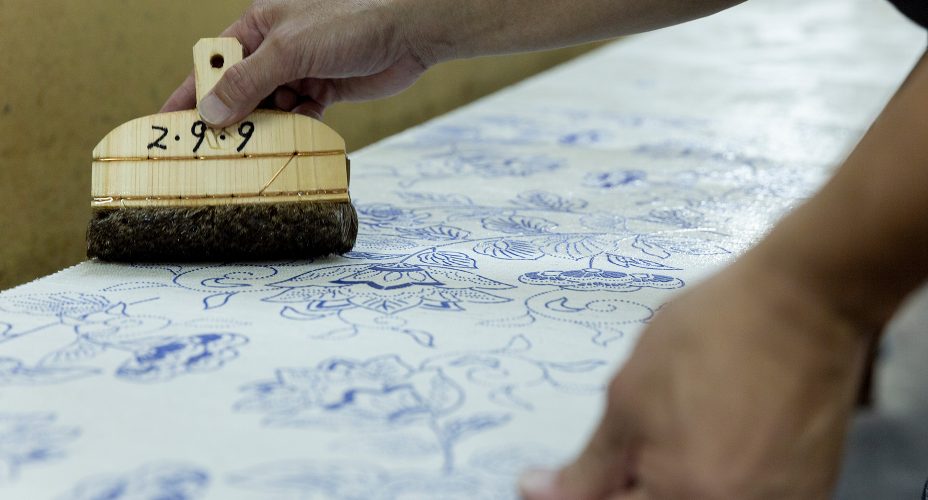
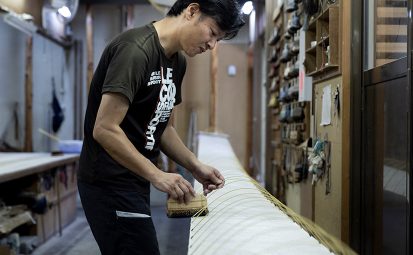
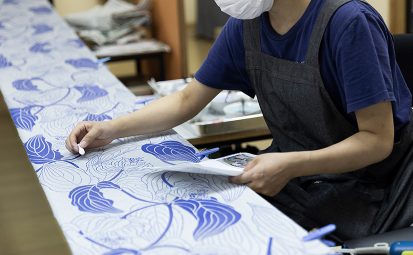
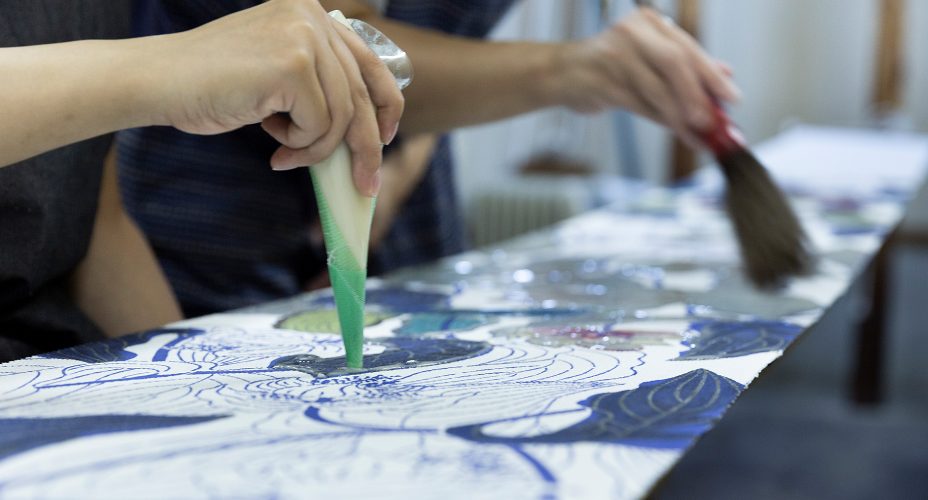
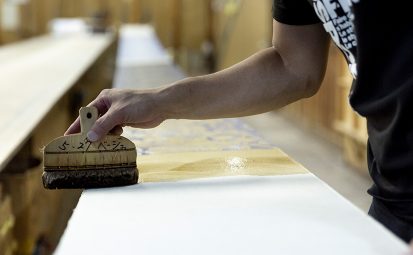
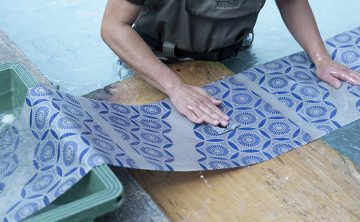
3. 型合わせ・型置き かたあわせ・かたおき
型の繋ぎ⽬に注意して防染糊を置きます。
生地の凹凸にあわせ、⼀カ所あたり最低3回防染糊を重ねます。
※「型置き」は「糊置き」とも⾔う。
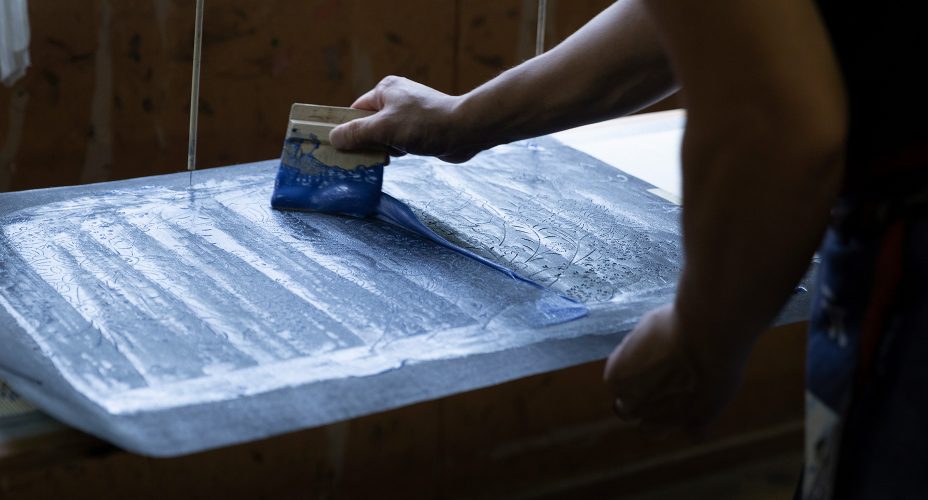

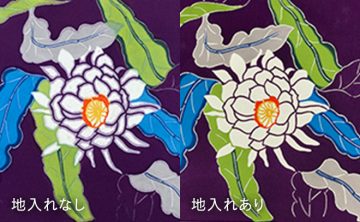
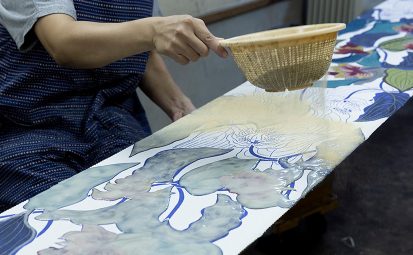
4. 地⼊れ じいれ
置いた防染糊の効果を⾼め、彩⾊や引染めでの滲み・ムラを防⽌します。
滲みの差
地入れをする・しないで滲みの差が歴然
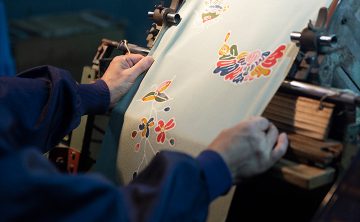
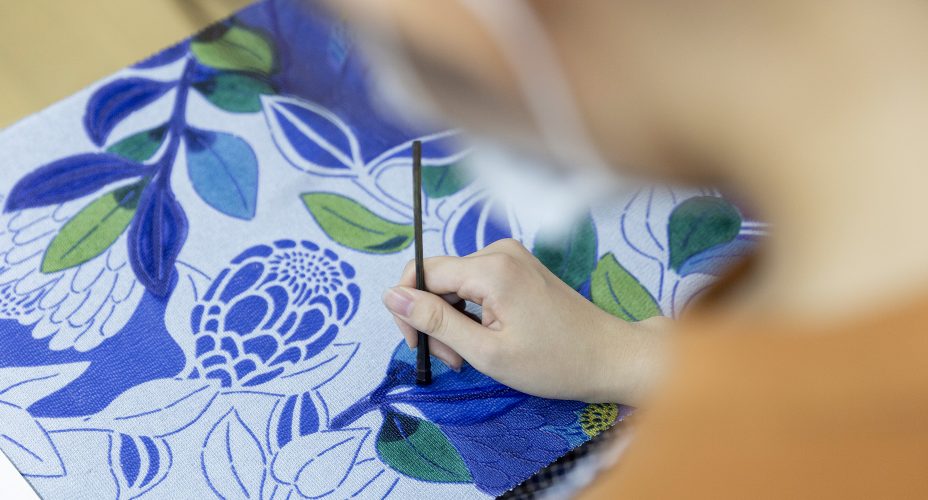
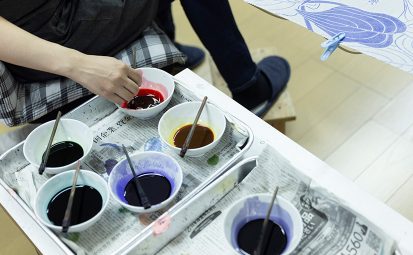
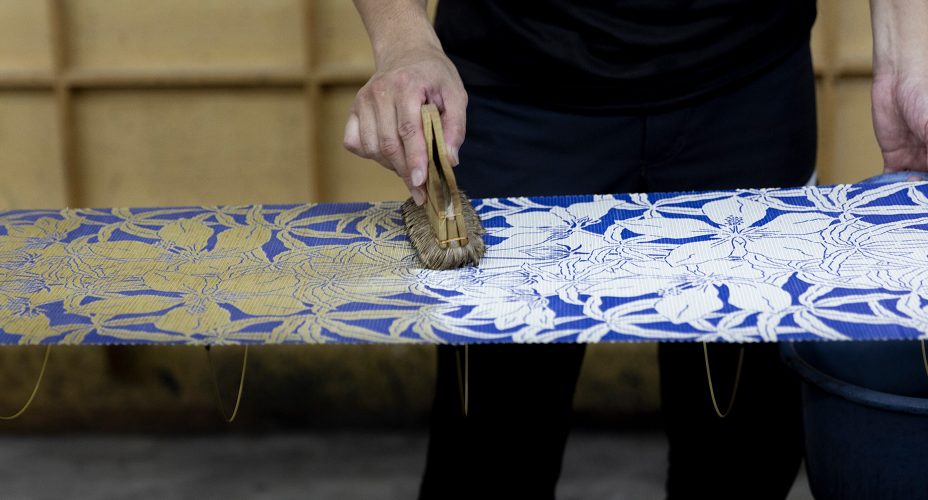
5. ⼿彩⾊ てさいしき
彩⾊は⼿作業で⾏うため、型の繰り返しに囚われず挿すことができます。
6. 手伏せ てぶせ
引染めで模様に⾊が被らないよう、彩⾊した模様の上に防染糊をおきます。
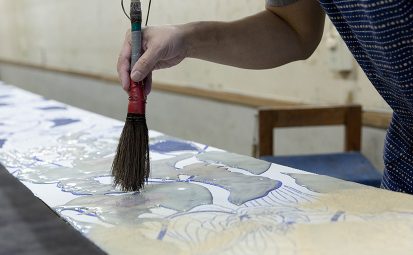
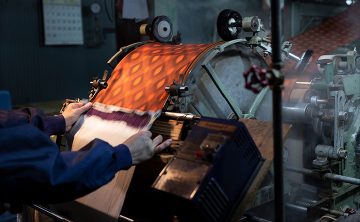
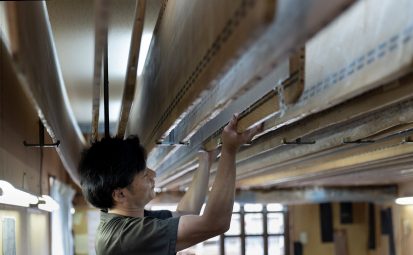
7. 引染め ひきぞめ
ムラが出ないよう平刷⽑で地⾊を染めます。

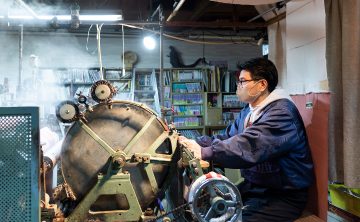
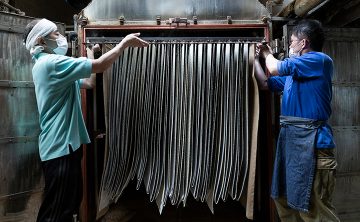
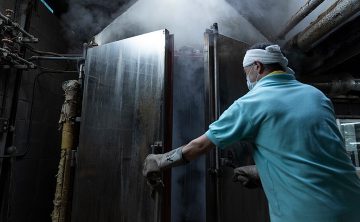
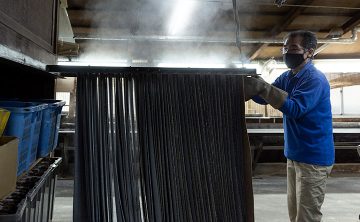
8. 仕上げ
蒸し / 水洗 / 整理
-
蒸し
化学染料は⽔分と熱で生地に定着します。柄付け⼯程で⼀度乾かす技法では蒸し前に挽粉を⽤いて⽔分を補給してから蒸すことで生地に染まります。
-
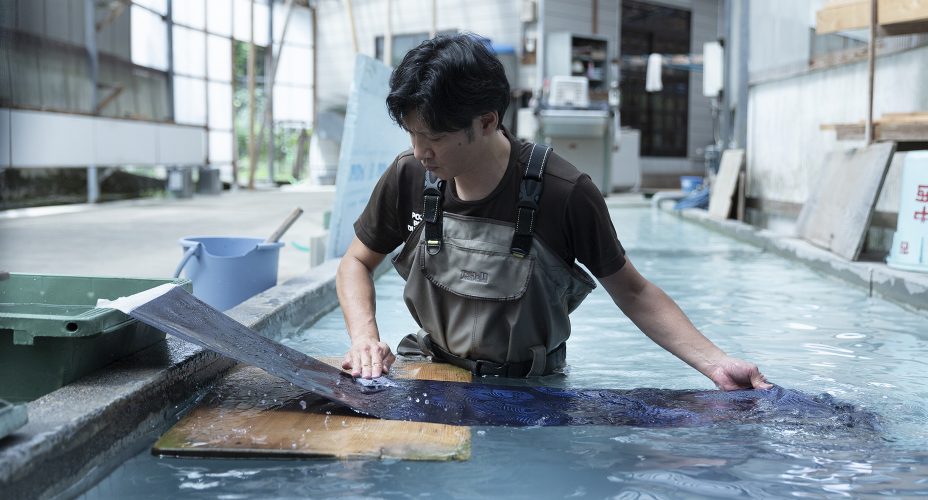
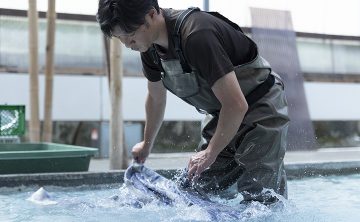
水洗
蒸しで染料が定着した生地から、余分な染料や糊などを流⽔で洗い流します。生地同⼠が擦れないよう洗います。
-
整理
⼿作業や道具を⽤いて染⾊後の生地幅を出したり揃えたりします。また、薬剤を加え⾵合いをよくします。器械を使い職⼈さんの⼿作業で幅揃えをします。